Tuesday, March 30, 2010

Mirror Mirror on the wall...

Okay.  So I feel like I should show you what I am dealing with.  We have split foyer home.  It was my husbands before we were married.  I had a ranch style, and I cannot wait to move-why did we sell MY home?  It wasn't in the right city-and his was a little nicer...and bigger.  I digress...I absolutely cannot stand hate stairs.  I am working very hard right now to make our house more homey because when I moved in there were white walls, very little in the way of furniture, and no decorations.  Enter the woman.  Hubby and I have worked very hard this last year to paint rooms and we actually remodeled the kitchen (kind of).  Back to my blank slate.  This is what the living room looked like when I moved in:

Please ignore my BIL on the microsuade loveseat.


I rearranged when I moved in, and took the long sofa and TV to the basement, where a family room should be, left the loveseat and coffee table etc. upstairs.  There is the imfamous lamp I have been trying to make the shade for.   Please note, there are no curtains, the furniture doesn't match at all...and there is that ugly University of Louisville (gag) blanket on the loveseat.  First off, I needed to pick a paint color.  I really liked green.  A soft, light, green.  We chose sweet mint by Porter Paint.  Here's a look now. 


Sorry, its like 10:00, so probably not the best time to take pictures with no natural light.


The hallway to the bathrooms and bedrooms are connected to the living room, so it got a nice coat of paint as well.

Side note here-that vacuum is the BEST purchase my Hubby has ever made for me.  It will suck anything up-which is the point.  But I LOVE it.  Bissell Healthy Home. 4 Stars. 
Please note there is NO shade on that lamp-and you can barely see it, but the stupid UL throw is still here.  Granted, it is for the dogs so they don't get fut all over our sofa.  

The curtains are from Ikea, as are the rods...and the chairs/ottomans.  I love them, its a really great place to read and study etc.  The dogs like to look out the front windows here.


These bookcases are great.  They hold all of our books, but I am thinking of moving them and the two chairs to the basement.  I have to find new chairs for up here first.  One more picture...
This is my dining area.  The paint isn't that lemony in person, I promise.  Its just the lighting.  The table and chairs are a hand-me-down from Hubby's Parents, the light was one Hubby and his brother purchase for their mother one year, and it hung in several of their homes growing up.  I love it, and think it is pretty.  When we eat/have people over, we actually move the table more under the light-but if its just us two, we usually eat at the breakfast bar.  

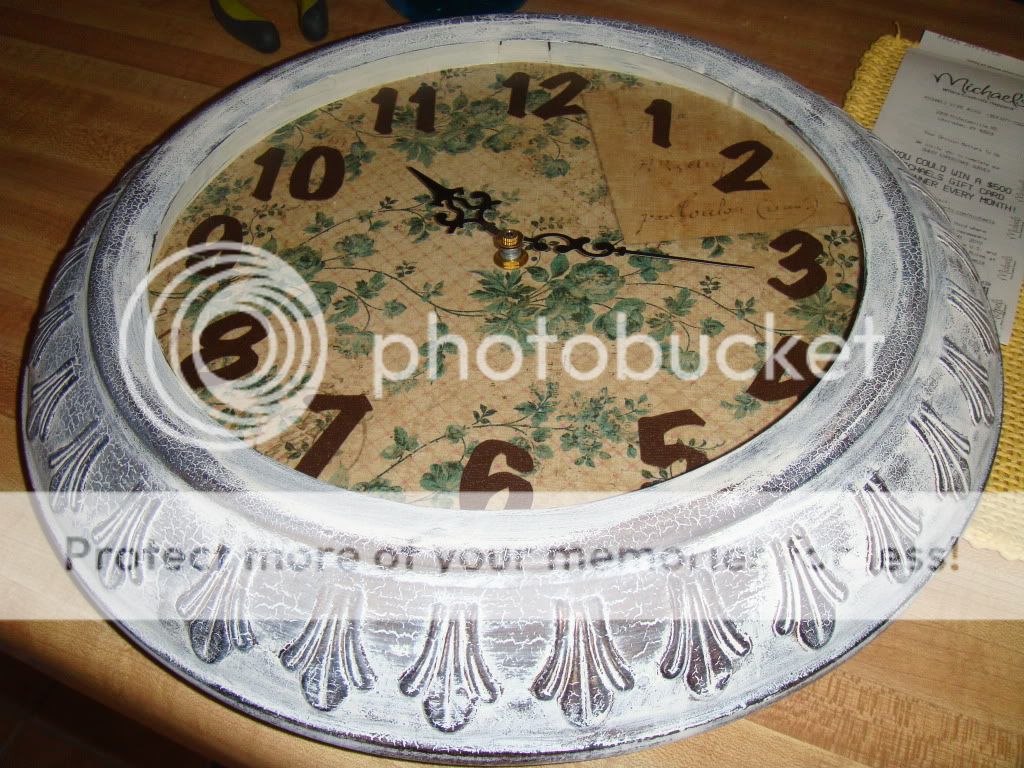
Okay, so why exactly am I showing you all of these things?  Well.  I'm on a kick.  A mirror kick.  I love mirrors.  I love the way they reflect light etc.  I want mirrors.  So I was going to go to Hobby Lobby because mirrors are 50% off this week or something.  I know the ones I want.  They are reg $40 ea., and they aren't even that big (24x36" or something).  I wanted two (they look like window panes) of them to hang in the living room on that awesomely empty wall.  Something to keep the clock company.  Then I was going to add some of the shelves I've been working on (that to come later), and add some decorations and be done.  Well.  For some reason I got this crazy idea to check craigslist first.  This is what I found:

Yes that is a shooting target in the back ground...and it's mine!

The two tall mirrors were $25.  I already removed one of the mirrors to clean when I remembered to take a picture.  The second mirror cost a little more.  BUT-I love them.  The mirrors themselves are pretty thick and heavy.  I'm so excited.  Let's get a closer look:


Lovely detail.  Now.  I have another mirror Hubby bought me.  I was going to paint it and place it in the kitchen over the table to put something on the wall and help add light.  Here it is:

It is very red and gold.  Nothing a little paint won't fix.  So here is my problem.  Should I:

  1. Place the matching mirrors in the living area, the short fat one in the kitchen, and the red one at the end of the hallway.
  2. Place the matching mirrors in the kitchen area, the short one in the living room, and the red one in the hallway.
  3. Place the matching mirrors in the living room, the red mirror in the kitchen, and the fat/short one in the hallway.  
Okay-you get where I am going with this.  I will be painting all of the mirrors.  As a matter of fact, I have already begun on the short one:


Primered (is that even a word?)
Love it!  I can't wait until I am home from class tomorrow so I can work on these some more! :)

-Jess

p.s. I'm linking up to:
Idea Sharin Wednesday @WomenWhoDoItAll
Whatever Goes Wednesday @SomedayCrafts
Ideas Under $100 @BeyondThePicketFence 
Transformation Thursday @ShabbyChicCottage 

Monday, March 29, 2010

Project With Hubby

So, I have a couple other projects in the works, but school is getting in the way of me completing them (imagine that...).  In the mean time, my Hubby has been asking me to help him with something for the truck.  He doesn't like the way the seats feel, and we only use the truck for longer trips.  I told him I would help...because me helping is cheaper than new seats.  We found a how-to on this man-truck-guy forum, but I altered it a bit.  So here's the idea, we add more foam to the seat to keep it from breaking down and being uncomfortable.  Once we got the cover of the seat off we discovered the passenger side already had holes from breakdown. 

Removing the cover.  Most seats have some kind of snap or clips that attach the cover to the frame.

 
Uncovered.

 Hole.  Not deep, but clearly foam breakdown.

Once we had the seat cover off, and I could correctly assess the situation, and I lifted the "seat" of the seat.


Did you know a car seat is mostly metal and then some high density foam and a cover?  Well it is.  And the above metal supports are what we sit on, which doesn't look too comfy.  I measured and cut pieces of foam, then wrapped them in burlap for added support.  


 I used spray adhesive to hold the burlap onto the foam.  Then I placed them around the underside of the seat where the metal bars go into the foam cushion.  My hope is the burlap will be a little more sturdy and give a little more support to the foam.  We also purchased a 2" foam seat cushion and covered it in burlap as well and added it to the inside:

See how the wire supports have begun to cut into the bottom of the seat? 

 
New cushion bottom supported with burlap

The idea is the pressure of the seat against the metal frame will hold the added foam in place.  What about the top of the seat? I don't know if you've noticed but seats are kind of lipped up (or thicker?) to support your backside when you sit in the car---remember the side had the hole...well, we fixed that too.

 Added strips of 1" foam to the top-this can be tricky because remember you have to put the cover back! 
I was also trying to get Hubby to take a picture of my wedding band set sparkling in the sun...he wouldn't cooperate.

 
We added two 1" pieces to the drivers side since the driver was the one complaining...

When you go to put the cover back on, once you've added sufficient amounts of foam in the right places, HERE'S THE TRICK.  Start from the inside of the seat (by the console) and fit that side back over your foamy addition.  There is probably Velcro of some type, match up the velcro first-then pull the rest of the cover over the seat ending at the door side.  Trust me it keeps it from getting lumpy and makes sure everything stays in place.

This is the velcro seam I am talking about-get this part together before you pull the rest of the cover back...

And here's the final product:


 The passenger's side = COMFY!
 
The driver's side...


While I did not think there was anything wrong with the seat to begin with, there is a noticeable difference in the way the seat is now versus before. 

I am not advocating everyone go out and work on their seats, but if you find yourself in an uncomfortable driver/passenger seat foam breakdown could be the cause and it can easily be fixed!

Total:

-2 1" foam pieces (20"x30" I think) $3 ea
-2 2" foam seats (12"x12") $1.50 ea
-Spray adhesive (on hand)
-1 yd burlap $1.99

Cost: Less than $10
AND 2 hours of time.

Hope you enjoyed this craft, my hubby and I did!

-Jess

I'm linking up to:


The Girl Creative

The DIY Show Off


 Beyond The Picket Fence

Saturday, March 27, 2010

New Project

Sorry I haven't added a new project this week.  Its not that I didn't have one, its just...well, have you ever had one of those weeks where NOTHING went right.  This was one of those weeks.  If it could go wrong, it went wrong.  That's cool.  What doesn't kill you makes you stronger right? After this week I should be tough as nails.  Back to the project.  I have one for you.  Its one I did with my hubby...for my hubby.  It has nothing to do with my decorating needs (mind you my lamp still does not have a shade), but for him.  So I will be posting this project tomorrow!

Friday, March 19, 2010

Spring Wreath

So-I love LOVE spring.  I love the flowers, warm weather, how green everything is...I even love...the rain!  I currently have green things growing in my garden...with buds...so I am hoping that this weekend sometime I will end up with pretty flowers.  After all, my neighbor already has daffodils in her yard.  Which actually brings me to my project today.  My husband's favorite color is yellow.  It is a bright and cheery color actually.  My mother gave me an old grapevine wreath.  I needed a wreath for my front door.  So I went to DT and purchased a few (like 6-7) stems of daffodils.


I cut each bloom off and hot glued it to the wreath...


Once I had finished this and had it on the door, I wanted to do something for the inside too.  I had a couple sprigs of daffodil, some green hydrangea from my topiary project.  I had seen some Easter lilies at DT-so I went back.  I bought the white Easter lilies and a new wreath-about 12" so its not front door worthy.


At first I wasn't sure what to do-if I should just use the lilies, or what.  So I played.


I am a HUGE fan of symmetry.  I may have OCD (I'll find out this semester in psych-haha).  Plus I knew I wanted to add the color of the other flowers and not just have white.  So I tried this:


I wasn't exactly a fan.  So I scraped it and started over AGAIN.  This time, I ended up with:


Much better-but I still had that green hydrangea...


Ah-that's better.  It just sort of fills it out a little better-not really there for looks as much as volume.  I love it.  It is now hanging at the end of our hallway to the bedrooms.  Sorry, I don't have a picture of that yet.

My spring break is almost over.  :( I am sad, it doesn't seem like it has been nearly long enough.  AND I am not ready to go back to school yet.  I enjoy the break and getting to craft and decorate.  Our house has been sparse for far too long.

I hope you have enjoyed my wreaths!

-Jess

p.s. I'm linking up to:

Wednesday, March 17, 2010

Tick-Tock Says the Clock...

Since we had this wonderful time change over the weekend (I'm still not adjusted), I thought I'd save my wreath for another day and instead show you my clock.  My mother gave it to me because she said "it just never worked."  Well.  I can fix that!  I apologize because I'm horrible about taking "before" pictures.  I don't know why that is.

I disassembled the clock.  Painted the frame with "vanilla" and wiped it back off.  kind of.  Then I decided it needed a new clock face.  I didn't like the old one-it resembled a very old weathered (poorly weathered) clock.  So I went and got some scrapbook paper and cut it to fit.


ModPodge is my best friend.  We like doing crafts together.  I was going to use the old hands, but I ran into a problem!  They didn't fit the new clock mechanism.  So I tried a few things and ended up fashioning the old hands to the new hands so they would fit-using some E6000 (why didn't anyone tell me about this stuff before??).

So while the hands dried (I actually let them dry overnight), I decided I'd work on my numbers.  Every good clock needs numbers right?  I had picked out this pretty cardstock, and wanted to cut them out, but couldn't find a pattern etc-so I printed some off my computer and used my x-acto knife. 


After I cut out all of the numbers, I then placed them around the clock to make sure I had done this right-


After I decided I hadn't made a huge mistake, I used modpodge and placed all the numbers down.


I highly recommend placing all the numbers BEFORE gluing ANYTHING.  Once everything had dried (this morning) I added my hands, set the time, and put everything back together.  


I think the clock parts were $5 and the paper was .50 or something, and I had everything else on hand.  I'm going to work on the frame a little bit more and maybe tone down the white a bit...and paint the hands brown to match the numbers.  

-Jess


p.s. I'm linking up to:


The Trendy Treehouse


Life in the Pitts


Make it Yours @ My Backyard Eden


<br>http://www.thethriftyhome.com