Showing posts with label Quick Crafts. Show all posts

Monday, March 29, 2010

Project With Hubby

So, I have a couple other projects in the works, but school is getting in the way of me completing them (imagine that...).  In the mean time, my Hubby has been asking me to help him with something for the truck.  He doesn't like the way the seats feel, and we only use the truck for longer trips.  I told him I would help...because me helping is cheaper than new seats.  We found a how-to on this man-truck-guy forum, but I altered it a bit.  So here's the idea, we add more foam to the seat to keep it from breaking down and being uncomfortable.  Once we got the cover of the seat off we discovered the passenger side already had holes from breakdown. 

Removing the cover.  Most seats have some kind of snap or clips that attach the cover to the frame.

 
Uncovered.

 Hole.  Not deep, but clearly foam breakdown.

Once we had the seat cover off, and I could correctly assess the situation, and I lifted the "seat" of the seat.


Did you know a car seat is mostly metal and then some high density foam and a cover?  Well it is.  And the above metal supports are what we sit on, which doesn't look too comfy.  I measured and cut pieces of foam, then wrapped them in burlap for added support.  


 I used spray adhesive to hold the burlap onto the foam.  Then I placed them around the underside of the seat where the metal bars go into the foam cushion.  My hope is the burlap will be a little more sturdy and give a little more support to the foam.  We also purchased a 2" foam seat cushion and covered it in burlap as well and added it to the inside:
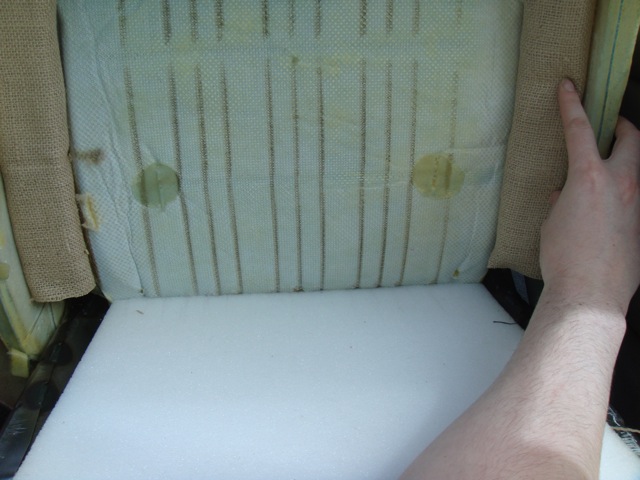
See how the wire supports have begun to cut into the bottom of the seat? 

 
New cushion bottom supported with burlap

The idea is the pressure of the seat against the metal frame will hold the added foam in place.  What about the top of the seat? I don't know if you've noticed but seats are kind of lipped up (or thicker?) to support your backside when you sit in the car---remember the side had the hole...well, we fixed that too.

 Added strips of 1" foam to the top-this can be tricky because remember you have to put the cover back! 
I was also trying to get Hubby to take a picture of my wedding band set sparkling in the sun...he wouldn't cooperate.

 
We added two 1" pieces to the drivers side since the driver was the one complaining...

When you go to put the cover back on, once you've added sufficient amounts of foam in the right places, HERE'S THE TRICK.  Start from the inside of the seat (by the console) and fit that side back over your foamy addition.  There is probably Velcro of some type, match up the velcro first-then pull the rest of the cover over the seat ending at the door side.  Trust me it keeps it from getting lumpy and makes sure everything stays in place.

This is the velcro seam I am talking about-get this part together before you pull the rest of the cover back...

And here's the final product:


 The passenger's side = COMFY!
 
The driver's side...


While I did not think there was anything wrong with the seat to begin with, there is a noticeable difference in the way the seat is now versus before. 

I am not advocating everyone go out and work on their seats, but if you find yourself in an uncomfortable driver/passenger seat foam breakdown could be the cause and it can easily be fixed!

Total:

-2 1" foam pieces (20"x30" I think) $3 ea
-2 2" foam seats (12"x12") $1.50 ea
-Spray adhesive (on hand)
-1 yd burlap $1.99

Cost: Less than $10
AND 2 hours of time.

Hope you enjoyed this craft, my hubby and I did!

-Jess

I'm linking up to:


The Girl Creative

The DIY Show Off


 Beyond The Picket Fence

Wednesday, March 10, 2010

Nursing Clipboard

Some of you may know-or most may know, I am in nursing school.  I love it-I wish I had done it 7 years ago when I first started college.  Its wonderful and amazing.  One of the things I have to do in nursing school is a clinical rotation.  I've had two rotations of medical-surgical nursing.  In this type of setting you are dealing with a lot of very sick people, and many times, people who are alone.  It is my job to help care for them and in some cases brighten their day...just a little bit.  Nurses all carry clipboards to write down important information-vital signs, notes, reminders etc.  I finally was tired of carrying my full-sized clipboard around with me, having to set it down every time I needed to do something-and then walking off and leaving it.  Sometimes things are hectic and you just forget.  Then its lost for 10 minutes or so-well, you see where this is going.  I decided I needed a small clipboard, the half size clipboards.  The problem is they are all chipboard (AKA brown).  This not fitting with my personality.  SO I set out to change that (the clipboard-not my personality).

This is what I started with-

  • clip board
  • 2 pieces of scrapbook paper
  • mod podge
First I removed the clip from the board.  I then used mod podge and applied the paper.  I chose to use two sheets-and I removed a small bit from each-it gave it a layered effect.  I let the mod podge dry, and reattached the clip.


This handy little clipboard now fits in my smock/scrubs. So I don't have to worry about laying it down and walking off-
This is super simple and it has been a HUGE help for me in the hospital so I stop losing stuff.

-Jess

Today I'm Linking Up To:
Whatever Goes Wednesday @ Someday Crafts

Saturday, February 27, 2010

Furry Children

Well, I guess I should fill you in a little bit more about me.  If you're the person who does math-you've figured out I'm 25.  My amazing husband and I have been married for 10 months.  He is perfect, and everything I could ever hope for...and I'm not just saying that because we're newly-weds, but he really is.  His Mother raised him right.  Since we are so early on in our marriage, we do not have children, nor have we really considered the thought.  I brought in a cat and a dog to this relationship, and he brought in his dog. 
This is Brinkley (my baby boy)


This is Waylon (my husband's dog)


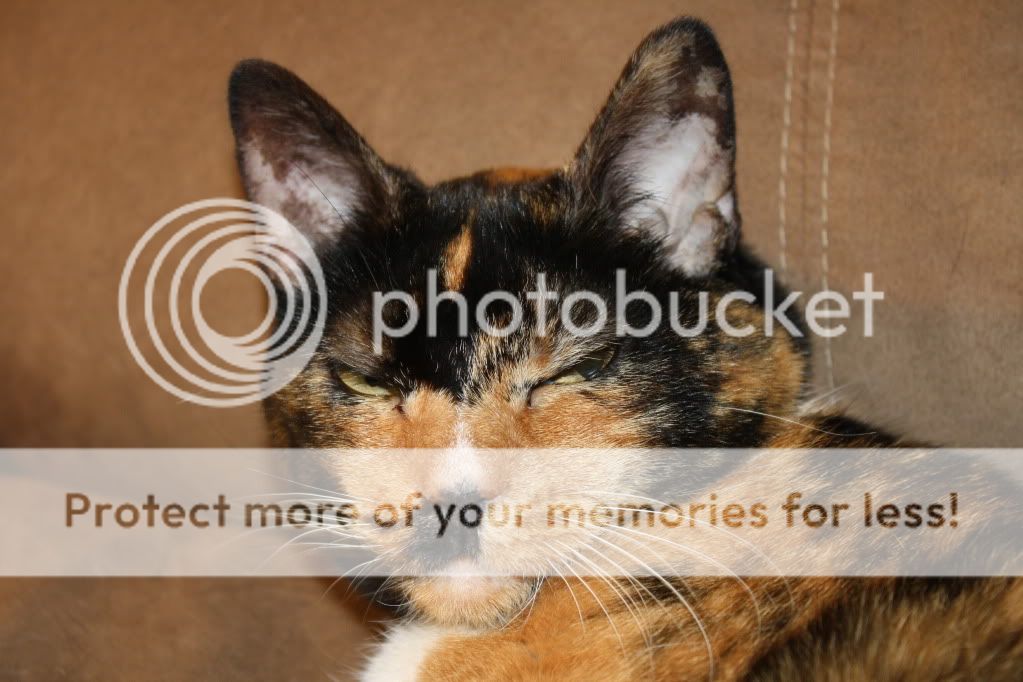
This is Miss Kitty (aka Belle)

So those are our children.  With that being said, two of my dear friends also have furry children.  They both just adopted brother black labs-and one of my friends is new to the world of dogs as she has only had cats in the past.  We were doing some shopping on Etsy last week.  I saw some really cute handmade wall hooks for leashes.  That was all the inspiration I needed. 

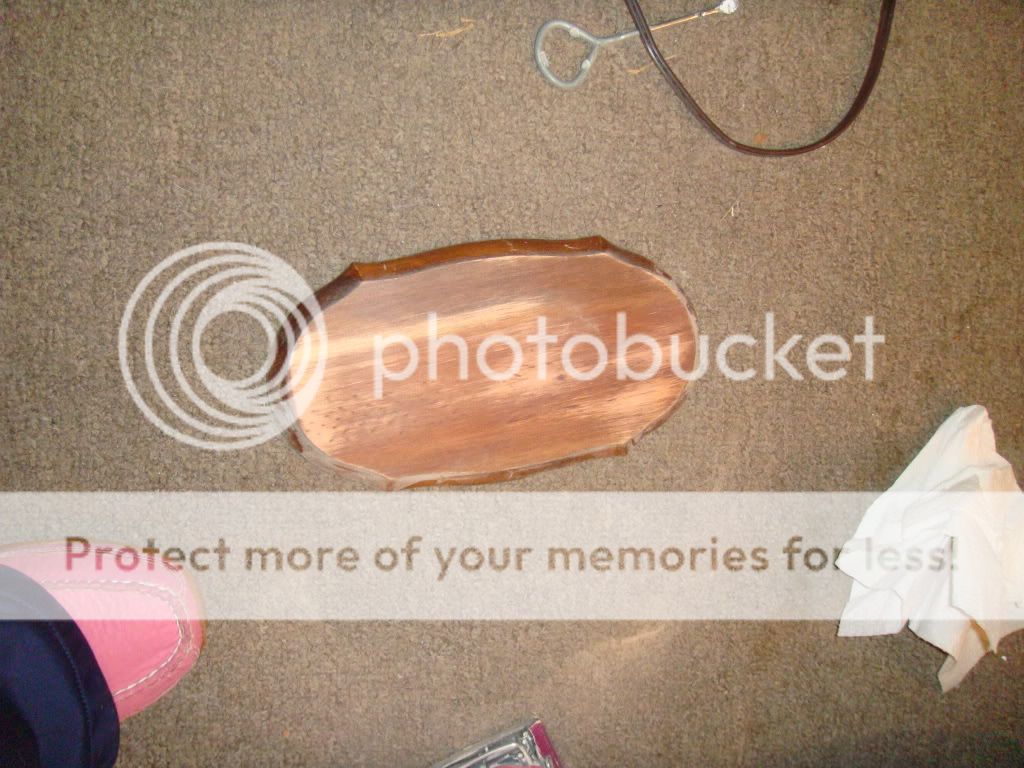
I found this piece of wood at the thrift store for $0.50! 
 
 
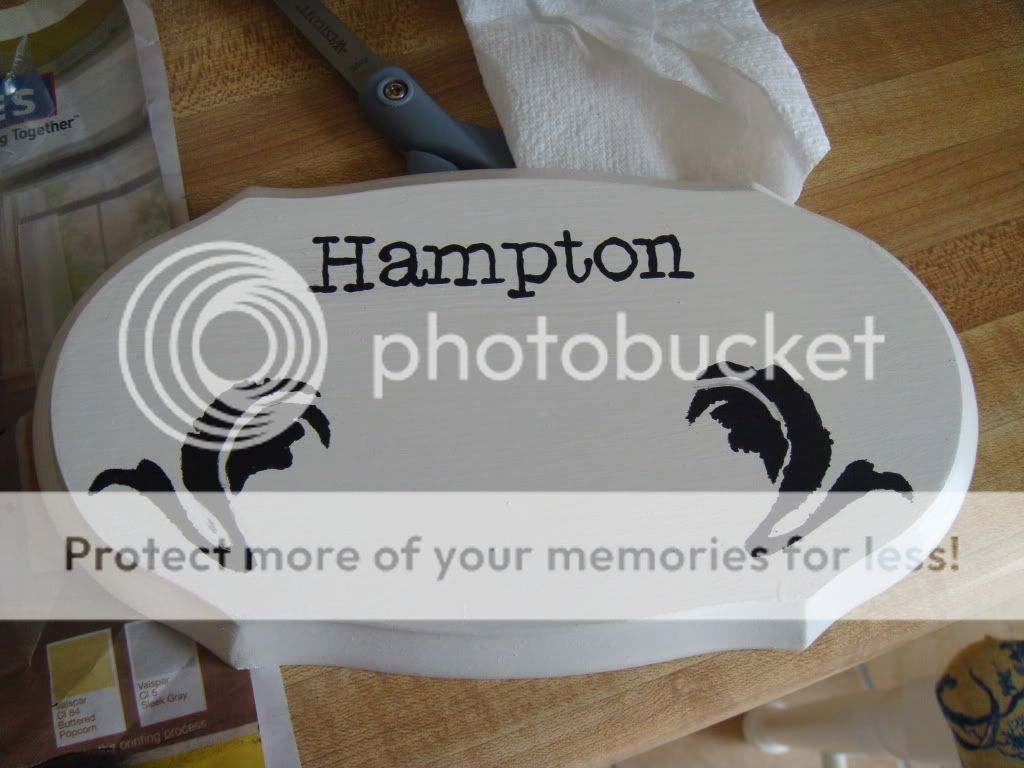
 I sanded, primed and painted it with some left over paint from our kitchen cabinets.
(The best primer I have EVER used is Porter Paints BlankIt...not cheap but AMAZING)
 

I printed out "Hampton" from Word, using "Typewriter" or something-just big enough to fit. Colored the back of it with graphite pencil and then copied the front...it left a stencil to follow on the wood. Then I painted it with black paint and added a little decoration. 


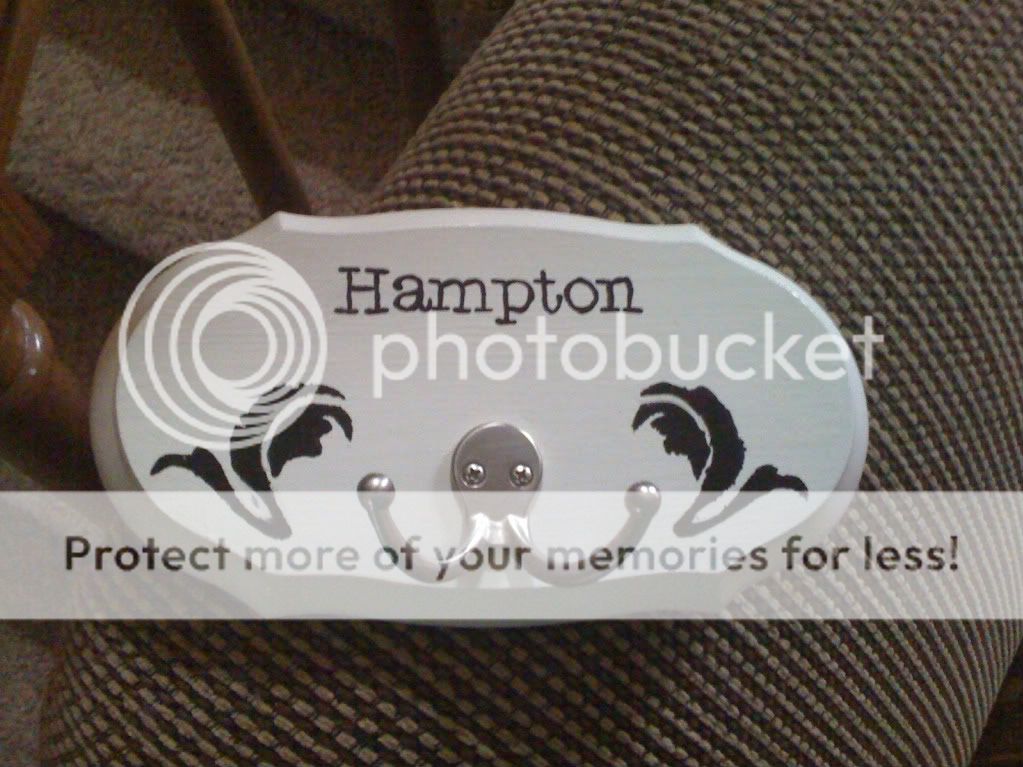
I sealed it with a glossy sealer, and attached hooks I had purchased from Lowes. Two hooks for $3 and change. 


I added a picture hanger on the back for easy hanging. 
That is all I have for today-I have a big project tomorrow!  Chairs...

-Jess

P.S. I'm linked up to:


Funky Junk's Saturday Nite Special